SLC PROGRAMMING & COMMISSIONING
Two incredibly simple ways:
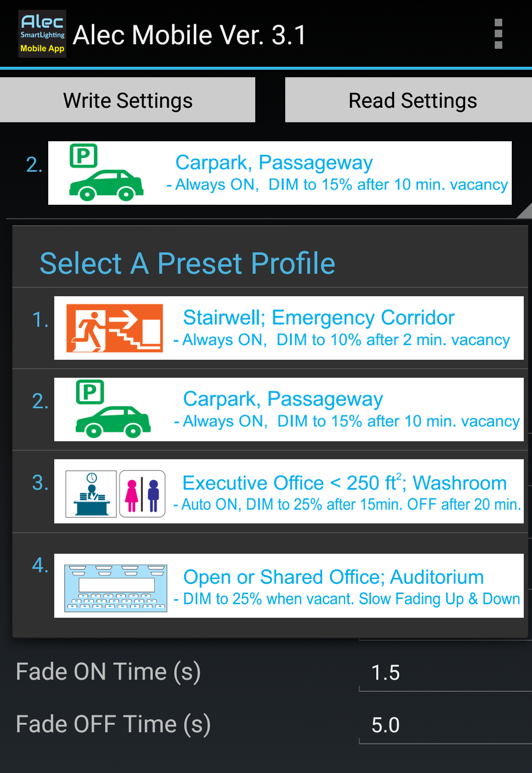
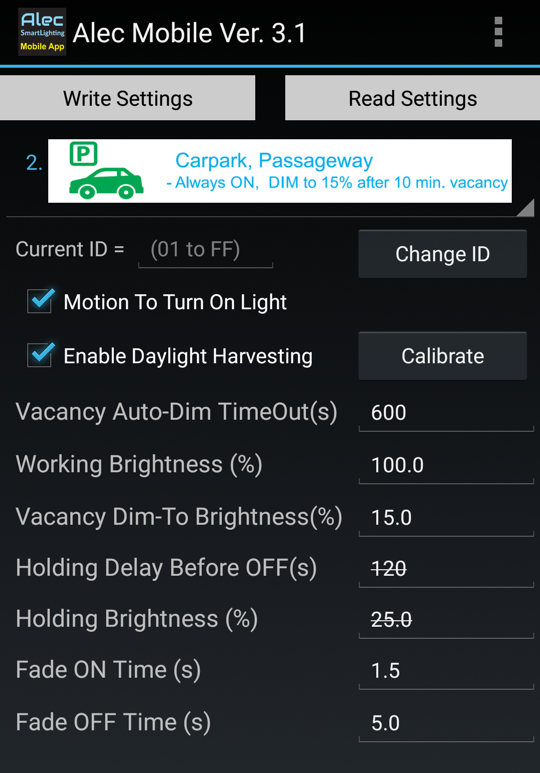
1. Pre-ConfiguratonThe fully programmable LC1 or LC2 Smart Lighting Controller included with every SLC is incredibly simple to setup. Just connect a PC or a smart phone to the LC1/LC2 using a USB cable, and select one of the pre-defined profiles. Then click the “Write Settings” button on the screen, and the controller is setup and ready to deploy! You can further fine-tune every configurable parameter for special applications:
For more details, please visit SLC Configuration Guide Note:
|
2. Field CommissioningThe new LC2 Smart Lighting controller is also fully programmable via a hand-held IR remote controller (model ARC-044), after it has been installed on the ceiling or the fixture. Four quick setting buttons allow you to commission almost any common illuminated spaces with a single press of a button: stairwell, carpark, enclosed or open offices etc. Additionally, by pressing a few keys on the controller, you can further fine tune any of the settings, such as vacancy brightness, vacancy time-out etc. You get a wide range of controls and extraordinary flexibility in this versatile and low cost Smart LED Conversion kit. 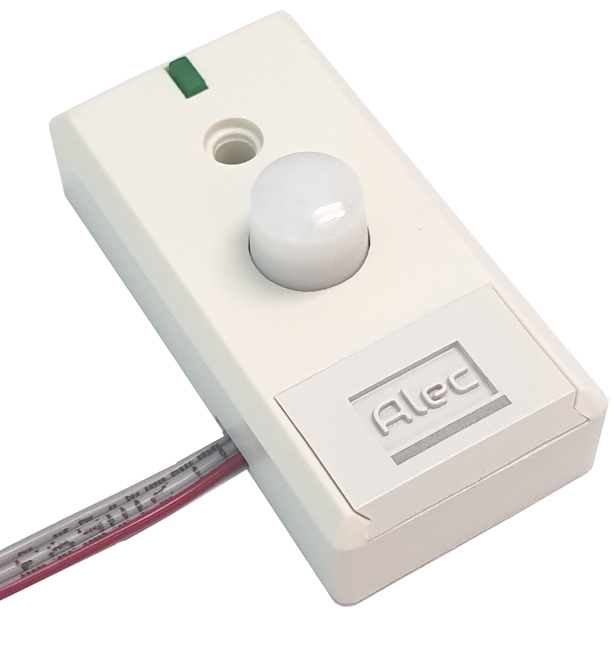 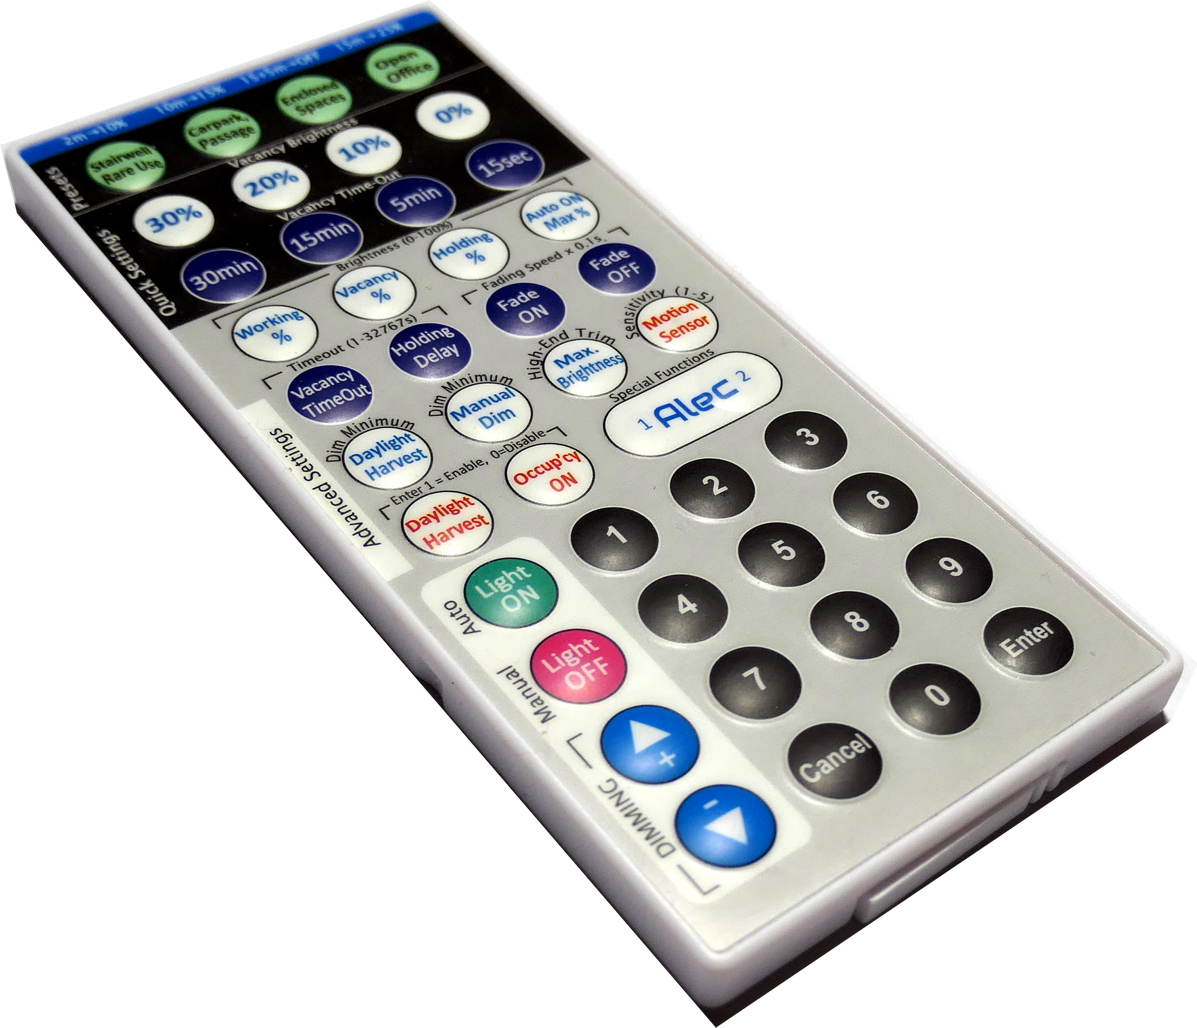 For more details on using the IR remote, please refer to the ARC-044 User Guide. |
